

Pro Tip: Use DevContainers for ML Development Cycle
Add and configure DevContainers in VSCode from scratch. Highly recommended for environment isolation and reproducibility.

In this article, you’ll learn about:
What are DevContainers
Why use DevContainers
Setup in VSCode using Provided Templates
Setup using custom configurations (recommended)
My Insights and Recommendations
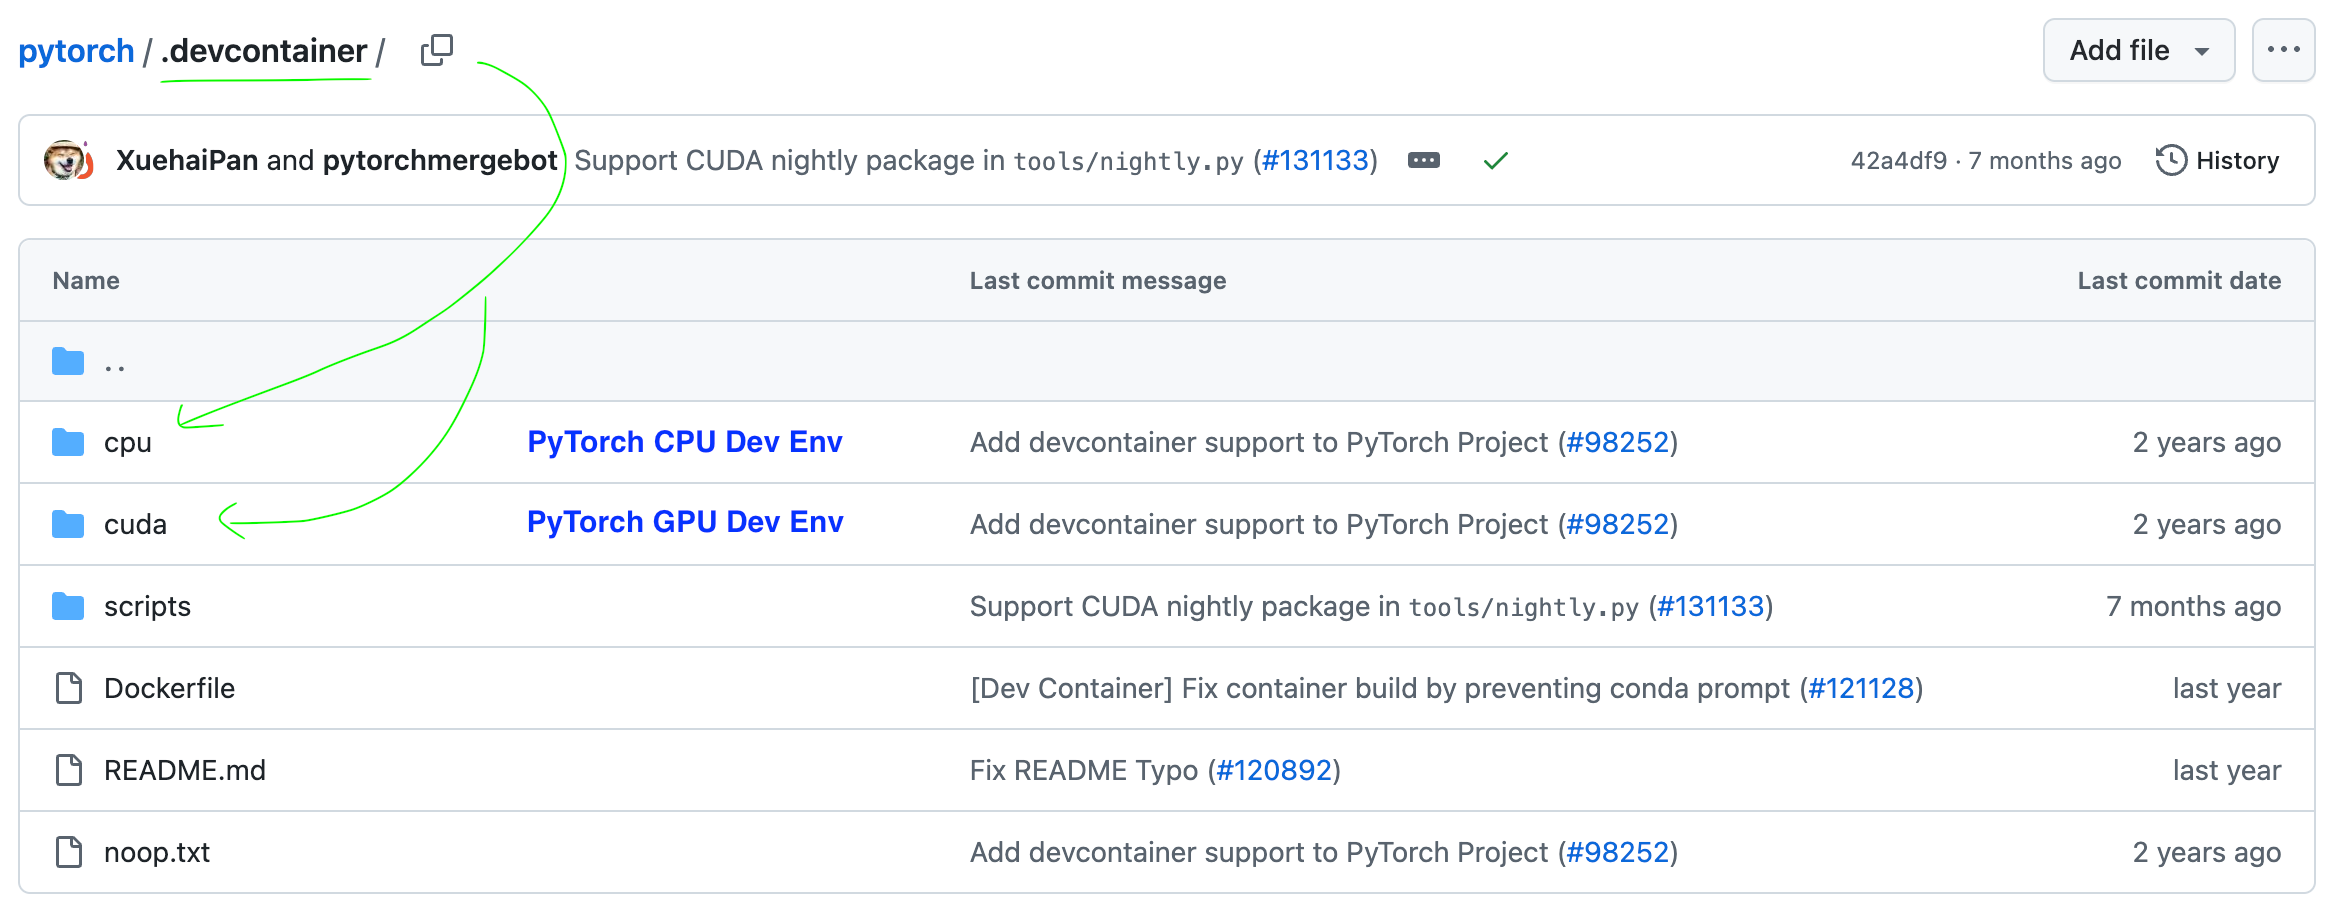
Inspiration for writing this article came while studying the PyTorch [3] Framework’s codebase.
In simpler terms, a DevContainer is a direct response to “But it worked on my machine” replies. It allows developers to separate the codebase functionality from the development process by offering everything needed to start working on a feature and running an application seamlessly.
Why use DevContainers?
Containerized environments are the industry standard for production deployments. I’ve worked on projects and AI systems that use containers, either Podman for Edge ML or Docker for Cloud Deployments.

Regardless of the size and complexity of your project, using a DevContainer to isolate your environment is my full recommendation. Let’s iterate a few points on this topic:
Simple and quick adoption - To get started, a developer must install an IDE and Docker, clone a dev container repo, or add a custom dev container configuration.
CDEs are becoming popular. The feedback loop changes with dev containers and developers are given more control over environments. Before, whenever a new feature was implemented, teams had to push the central operations team to handle everything.
There are no longer resource constraints - For example, in ML, you can’t run CUDA applications on a MacBook. Thus, a CDE (i.e., Cloud Dev Environment) is becoming an emerging standard of work, spinning up a container in a GPU-enabled Cloud VM.
Reproducible and Secure - The team has the same code, versions, and configuration with dev containers. It is also easier to work on patches through rebuilds.
They improve developer productivity. Like with other declarative technologies, developers don’t have to waste cycles on subtle differences in their environments.
You can use Docker with the Dev Containers [1],[2] extension in a few ways, including:
Docker installed locally.
Docker installed on a remote environment.
Other Docker-compliant CLIs, installed locally or remotely.
Below are some specific ways you can configure Docker on a local or remote host:
Windows: Docker Desktop 2.0+ is required on Windows 10 Pro/Enterprise. Windows 10 Home (2004+) requires Docker Desktop 2.3+ and the WSL 2 back-end. (Docker Toolbox is not supported, and Windows container images are not supported.)
macOS: Docker Desktop 2.0+.
Linux: Docker CE/EE 18.06+ and Docker Compose 1.21+. (The Ubuntu snap package is not supported.)
Remote hosts: 1 GB RAM is required, but at least 2 GB RAM and a 2-core CPU is recommended.
Setup in VSCode using Provided Templates
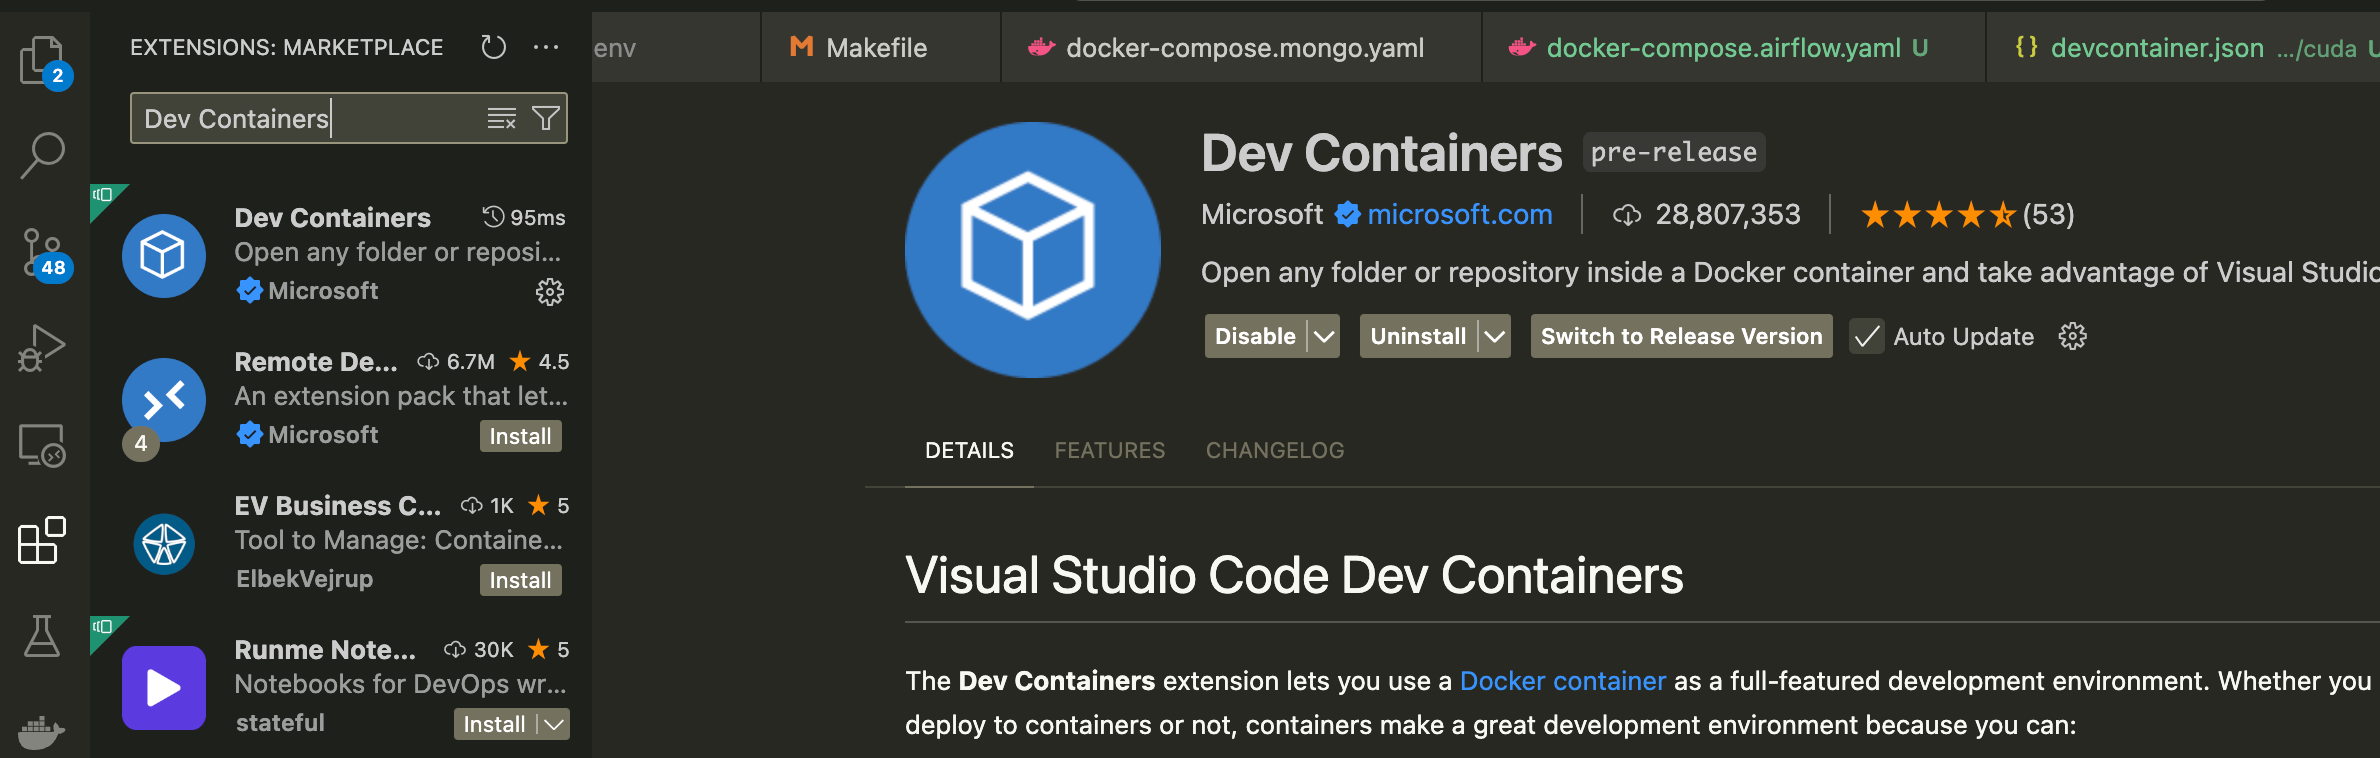
First, we must install the Dev Containers extension in VSCode.
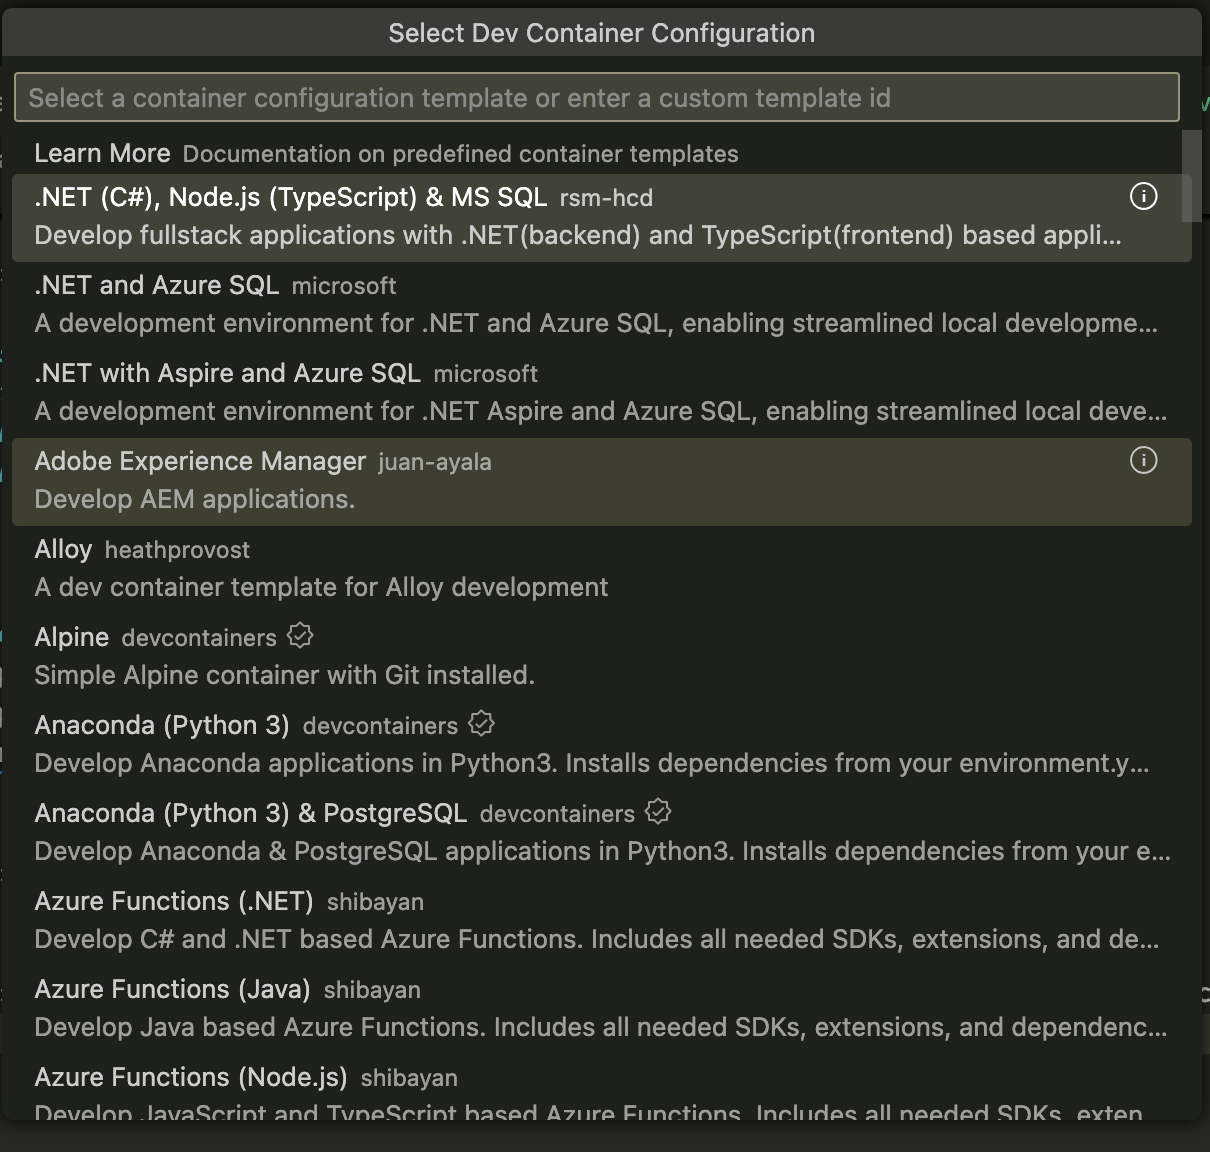
Next, if we run CTRL(Linux) /CMD (mac) + SHIFT + P and type :
> Dev Container: New Dev ContainerWe’ll be prompted to this view, where a list of predefined templates is available. Depending on your use case, you could select a base DevContainer and build on it, adding customization and other preferences.
In the next section, we’ll write the configuration from scratch while explaining it step by step.
2 ways to DevContainers in VSCode
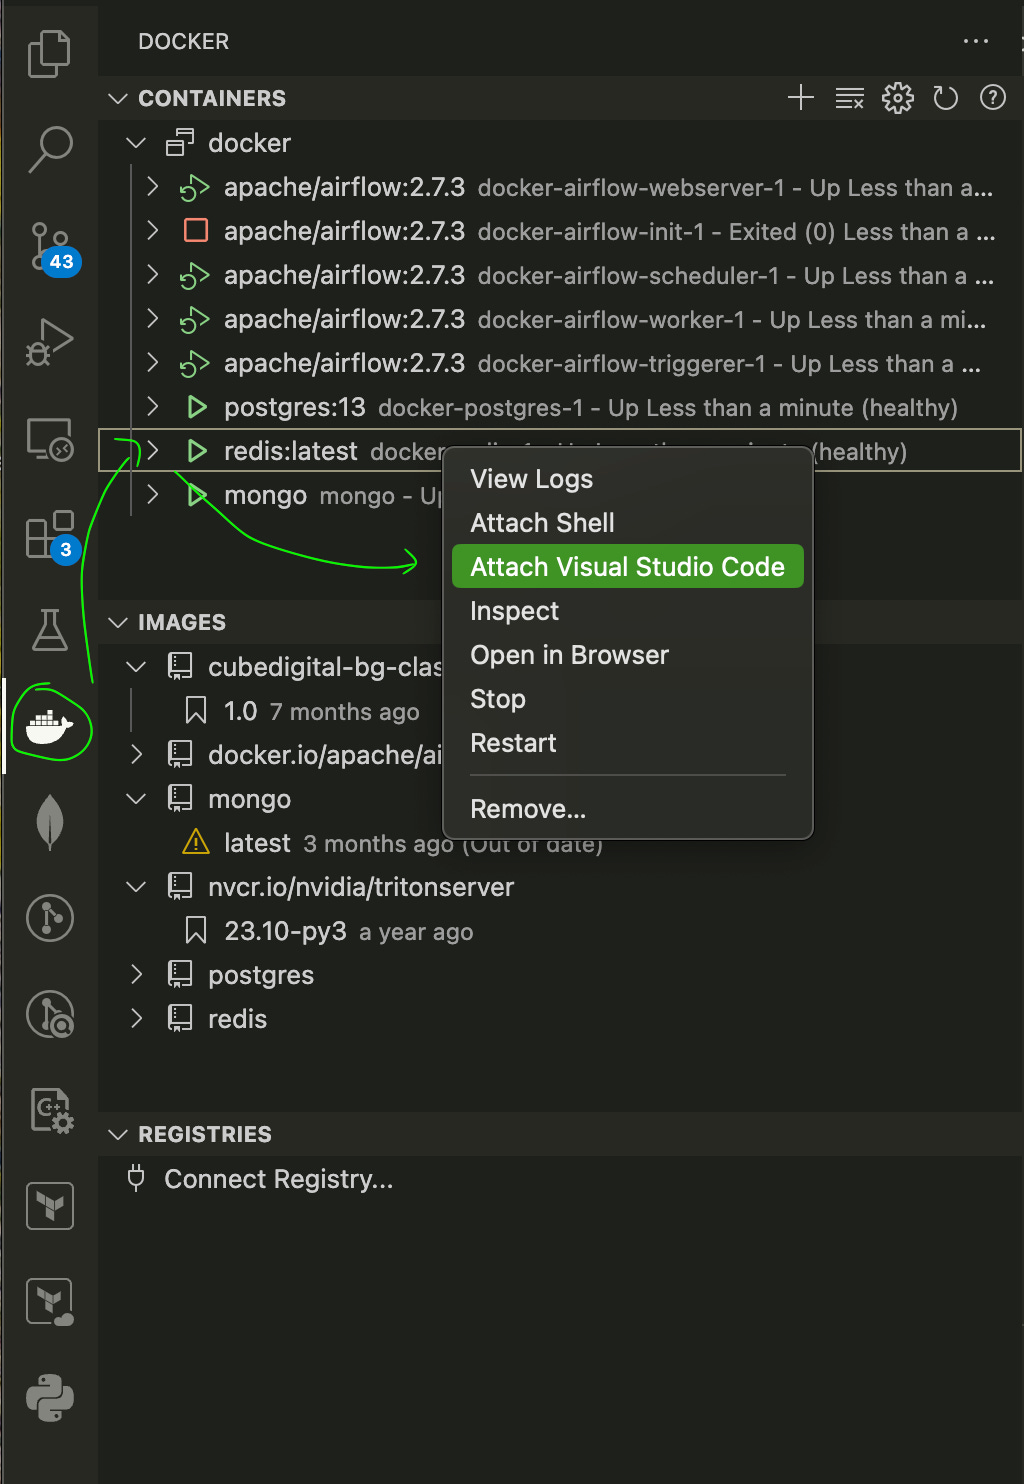
In VSCode, if you install the Docker extension and have started any Docker container from the terminal or a docker-compose.yaml configuration - you could attach VSCode to it, and it’ll open a new VSCode window with the workspace mounted.
Attaching VSCode to Running Container
This approach feels more like “preparing” your DevContainer than starting one, and that’s because once you attach VSCode to a container using this method, you’ll have to install extensions manually (e.g. Python Debugger, CodeFormatter)
Using DevContainer Configurations (recommended)
This approach implies creating a .devcontainer folder at the root of your project. Depending on the complexity of your project, you could have nested or single configurations inside this folder.
An example of nested configurations would be working on multi-architecture projects, such as having a CUDA, Apple CoreML, and CPU x86 workflow - and for each workflow, to install or build specific dependencies from sources.
Let’s now structure our dev containers:
At the root of your project, add a .devcontainer folder
Then, you could structure it as follows:
# For single project configuration
./
|-- .devcontainer/
|   |--devcontainer.json

# For multiple project configurations
./
|-- .devcontainer/
|   |-- [DevEnv1]/
|   |   |-- devcontainer.json
|   |-- [DevEnv2]/
|   |   |-- devcontainer.json
Place your Dockerfiles under the .devcontainer folder or keep them separate in a .docker or the root folder.
If you have post-build scripts, which you need to run after the container starts, group them in a script folder.
# Example with post-build scripts
./
|-- .devcontainer/
|   |-- devcontainer.json
|   |-- scripts/
|   |   |-- install_extra_deps.sh
📝 VSCode automatically scans every devcontainer.json file, such that all configurations appear when starting in container mode.
Once we have set the structure, let’s write the configuration files in devcontainer.json files:
{
    "name": "[Dev][CUDA][v12] - Environment",
    "build": {
        "dockerfile": "Dockerfile.cuda",
        "context": "../..",
        "args": {
            "VARIANT": "12",
            "VARIANT_TAG": "12.0.0",
            "VARIANT_VERSION": "12.0"
        }
    },
    "runArgs": [
        "--gpus",
        "all"
    ],
    "customizations": {
        "vscode": {
            "settings": {
                "editor.formatOnSave": true,
                "python.defaultInterpreterPath": "/usr/local/bin/python3",
                "[makefile]": {
                    "editor.insertSpaces": false
                }
            },
            "extensions": [
                "ms-python.python",
                "ms-python.ruff",
                "charliermarsh.ruff"
            ]
        },
        "remoteUser": "root"
    },
"workspaceFolder": "/workspace",
"workspaceMount":"source=${localWorkspaceFolder}/src,target=/workspace,type=bind,consistency=cached"
}
To unpack it:
We specify a name for our dev container configuration
We specify the Docker build workflow, with Dockerfile, workspace context, and args to build the context image
We add runtime arguments for the Docker build command under “runArgs”.
We specify customizations
You can add any VSCode workspace parameter to your VSCode Workspace or User Profile settings. These can include linter parameters, code-formatter arguments, or any other IDE settings
Under extensions, you could add VSCode extensions to install
At “remoteUser” we specify under which user role to start the container
At the “workspaceMount” field, we mount the host code inside the container
At “workspaceFolder," we specify what folder to open by default inside the container.
Now if we run CTRL + SHIFT + P (Linux) or CMD + SHIFT + P (Mac) and type:
> Dev Container : Reopen in ContainerYou’ll be prompted to this view:
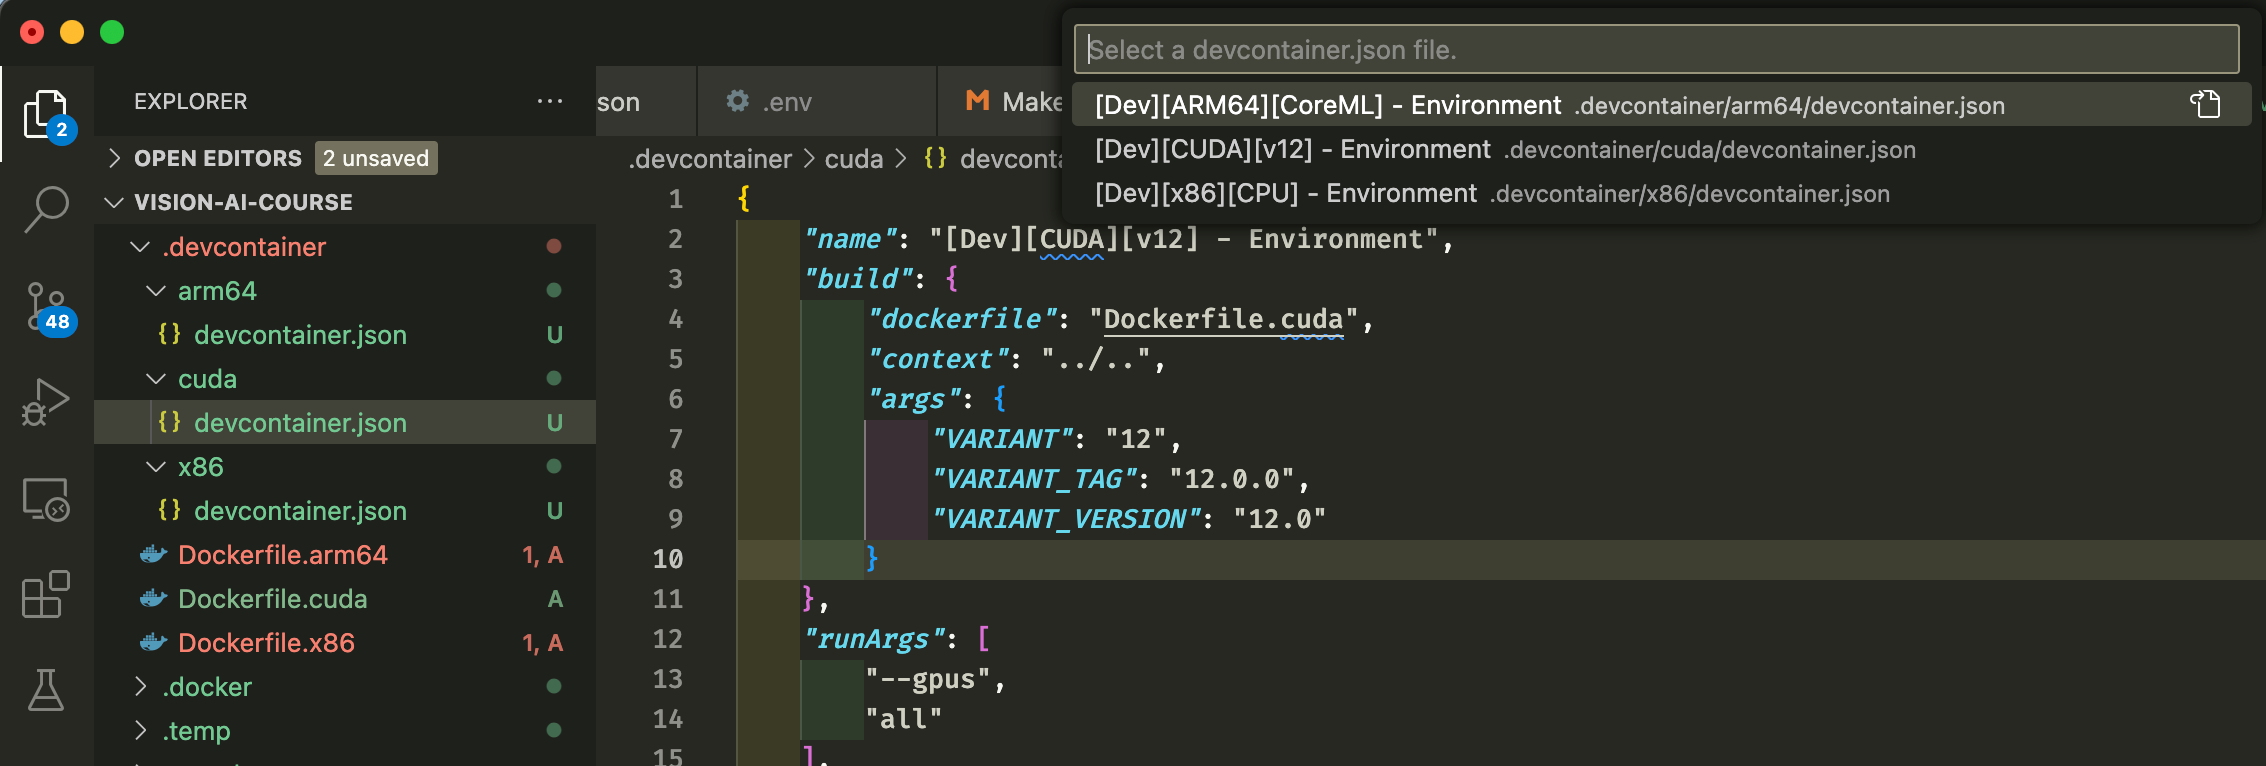
Upon selecting a dev container, the Docker Image will be built using the specified arguments, extensions will be installed, and customizations will be applied.
We’re now ready to develop in our DevContainer isolated and reproducible environment.
Insights and recommendations
DevContainers make development environments reproducible and secure and can greatly speed up development time within a team. Like Source Control for code, They help you “version” your development environment, which is key when working in a team.
Throughout my career, I’ve had many instances where dependency management was complicated and repetitive, often involving other team members to pair-program and fix issues that slowed the development.
A big chunk of development time goes into fixing issues that shouldn't be there in the first place. On that note, I highly recommend switching to DevContainers, regardless of whether you have already isolated the environment with conda.yaml, requirements.txt or pyproject.toml
If you already use Docker and are collaborating on a bigger project, suggest switching to DevContainers for your team; it’ll help!
If you’ve found this useful, like this article and consider subscribing to stay tuned for more applied ML/AI Engineering insights.
References: